Affiliate Disclosure: This post may contain affiliate links. If you make a purchase, we may earn a small commission at no extra cost to you.
LED light strips are a common pick for both homes and businesses because they’re energy-efficient, versatile, and simple to install.
But if you ever need to remove them without ruining your wall paint, don’t worry! We’ve got you covered with a clear, step-by-step plan.
So the question remains: How to take LED Lights off without ripping paint?
We’ll walk you through turning off the power, warming up the adhesive with heat, and gently easing the LED strip off the wall.
Stick with us, and you’ll keep your walls looking fresh and clean even after saying goodbye to your LED lights.
Ever pondered how to remove LED lights without damaging your paint job?
Curious if it’s possible to say goodbye to them without leaving a mark? Uncover the tricks to keeping your paint pristine while taking down LED lights.
Our easy-to-follow guide will walk you through the proper methods to ensure your walls remain unblemished.
How to Apply and How to Take LED Lights Off Without Ripping Paint
Before diving into how to take LED lights off without ripping paint, it’s essential to grasp the right way to put them up. LED light strips usually come with adhesive already attached or special hooks for easy installation. If the LED strip doesn’t have adhesive or you prefer using your own, you can use double-sided tape or glue from a glue gun. It’s vital to apply the adhesive evenly and not too thickly to ensure it sticks securely to your walls.
If your LED light strips come with pre-attached adhesive, start by cleaning the surface where you want to stick them. Use a mild cleaner and a soft cloth to get rid of any dirt or dust that might interfere with the adhesive. Once the surface is clean and dry, gently peel off the backing from the adhesive side of the LED strip. Slowly press the strip onto the desired spot, applying even pressure along its length. Smooth out any wrinkles or bubbles that pop up to ensure a seamless application.
If you prefer using your adhesive, like double-sided tape or glue, it’s crucial to pick the right type for your wall surface. Double-sided tape is a popular choice and easy to use. Cut the tape into small sections and stick them to the back of the LED strip, ensuring even placement along its length. Press the LED strip firmly against the wall to make sure the adhesive side sticks well. If using glue, apply it sparingly with a glue gun, ensuring even distribution along the back of the LED strip. Hold the strip against the wall for a moment to let the glue bond.
Check out our FREE Calculators on our Resources Page
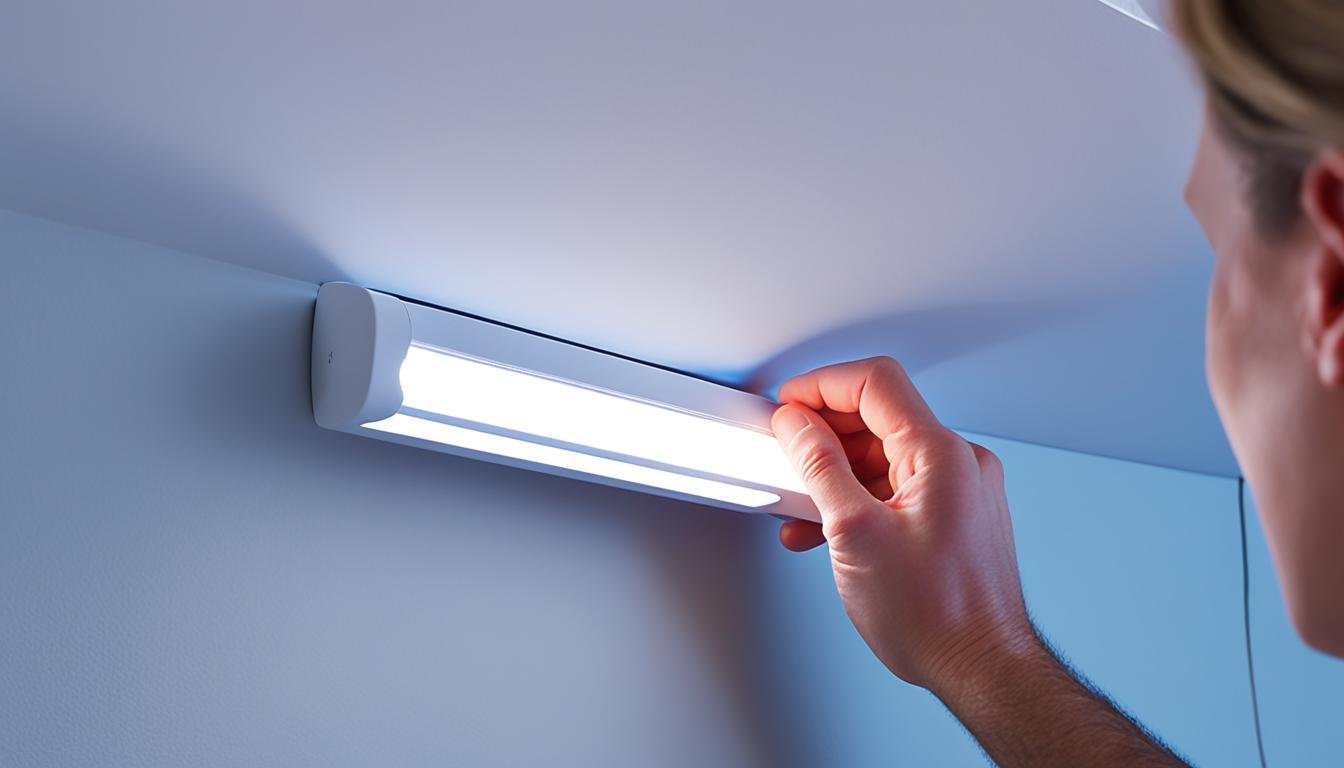
To remove the LED light strips without ruining the paint, start by turning off the power to the lights. This step is important to avoid any electrical mishaps while removing them. Gently peel back one corner of the LED strip, being careful not to pull too hard. If the adhesive doesn’t budge, use a hairdryer to warm it up a bit. The heat will help loosen the adhesive, making it easier to remove. Slowly peel off the strip, applying gentle and consistent pressure to avoid paint damage.
For stubborn adhesive residue, use a citrus-based cleaner or acetone to dissolve it. Apply the cleaner or acetone to a soft cloth and gently rub the residue until it comes off. Be cautious not to scrub too hard, as this can harm the paint. Once the surface is clean, you can either reapply LED light strips or explore other lighting options for your space.
Taking down and putting back up LED light strips is straightforward when done right. By following these steps, you can confidently install and remove LED light strips without harming your paint, keeping your walls looking great.
How to Re-stick LED Lights Without Damaging the Paint
If you need to stick LED lights back up without ruining the paint, don’t worry. There are plenty of options available to help you do this without harming your walls.
Start by removing any leftover adhesive from the LED strips. You can use acetone or a citrus-based cleaner for this, as they effectively dissolve and remove the adhesive.
Once the LED strip is clean, you can reattach it to the wall using various adhesive options. Some good choices include W3 tape, command strips, adhesive clips, double-sided tapes, or glue dots. These options provide a strong hold without causing any damage to the paint.
Alternatively, if you prefer different solutions, you can try using mounting putty, cable ties, or hot glue. These options are easy to use and offer flexibility, allowing you to stick the LED lights back up without leaving any marks or damaging the paint.
FAQ
How do I safely take LED lights off without ripping or peeling the paint?
How do I apply LED light strips?
How can I re-stick LED lights without damaging the paint?
Check out our FREE Calculators on our Resources Page
How to Take LED Lights Off Without Ripping Paint
How to Take LED Lights Off Without Ripping Paint

