Affiliate Disclosure: This post may contain affiliate links. If you make a purchase, we may earn a small commission at no extra cost to you.

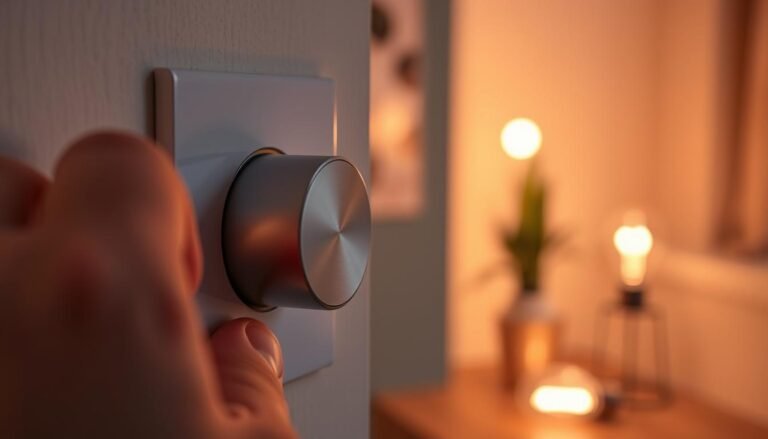
Ever wanted to change the mood of a room instantly with a simple click?
You can do it by learning how to wire a dimmer switch.
This guide will show you how to control your home’s light to make it just right. It’s a fun DIY project anyone can do.
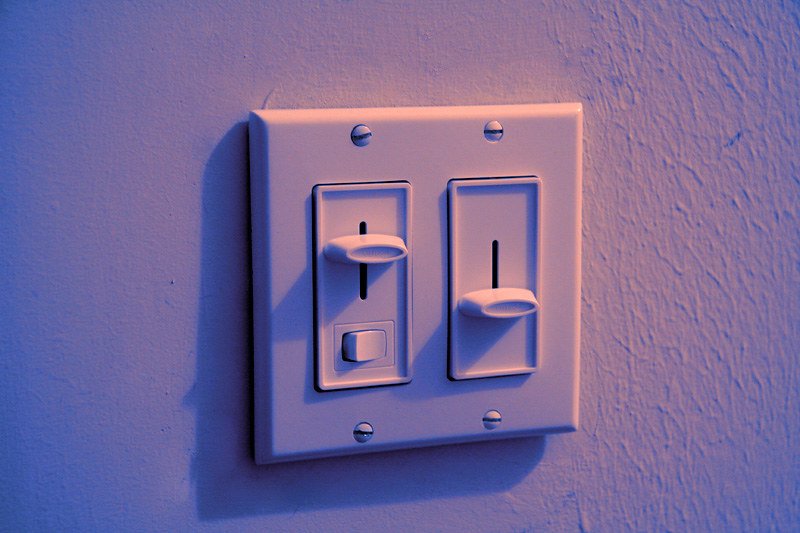
Wiring a dimmer switch is a cool DIY skill. It lets you adjust your lights to fit any situation.
You’ll follow clear steps in this guide, starting with making sure the power is off. Then, you’ll connect the wires and set up the switch safely. You’ll also pick the best dimmer for you and get your electrical box ready.
Ready to make your home’s light perfect for any moment? Let’s start and learn how to wire a dimmer switch like it’s nothing!
Key Takeaways
- Wiring a dimmer switch is a cool DIY skill that allows you to adjust your lights and set the right ambiance.
- This guide will show you how to do it safely and without stress, letting you change your home’s lighting game.
- By the end, you’ll feel skilled and sure about setting your switches correctly and safely, improving your home’s lighting.
- Learning to wire a dimmer switch lets you choose your lighting’s mood with ease, turning your house into the perfect place.
- This complete guide gives you all the info and confidence to enjoy working on a DIY lighting project and customize your home’s ambiance.
Check out our FREE Calculators on our Resources Page
Essential Safety Precautions for Electrical Work
When starting an electrical job, like setting up a dimmer switch, electrical safety must come first. Secure yourself and your home from danger by following the right steps.
Begin by turning off the power supply for the circuit you’re working on.
You can do this by turning off the circuit breaker or taking out the fuse.
Turning Off Power Supply and Verifying No Hot Wires
After cutting the power, check with a voltage detector to make sure there are no live wires.
Look closely at the wiring and switch for issues like a switched neutral or aluminum wiring.
You might need a licensed electrician to deal with these problems.
Identifying Potentially Dangerous Wiring Situations
As you check, watch out for dangerous wiring situations that could be risky. Test for worn or exposed wires, poor grounding, and any other signs of trouble in the electrical system.
If you find something you’re not sure about, it’s wise to get help from a professional electrician to finish the work safely and correctly.
Choosing the Right Dimmer Switch

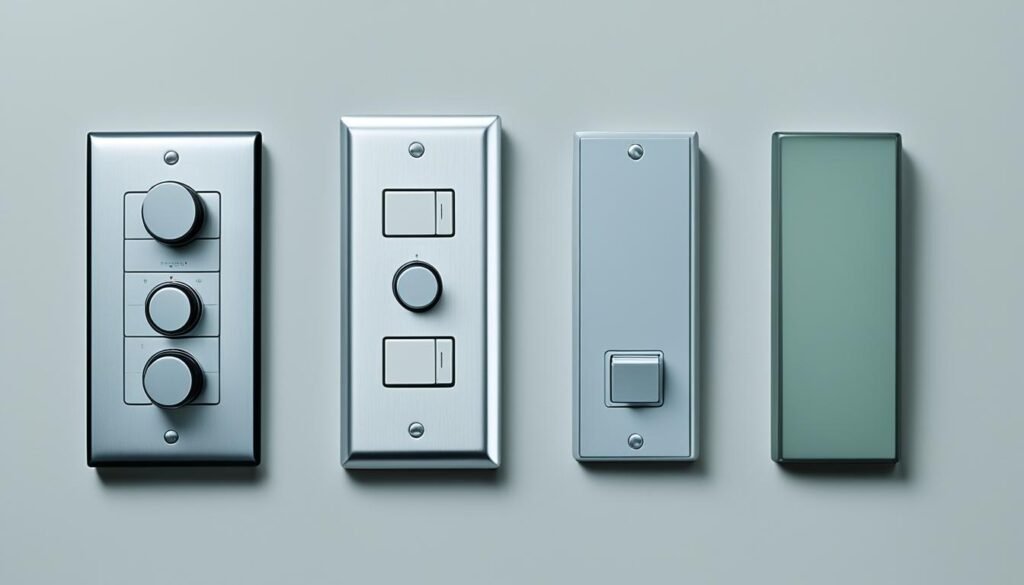
When it comes to dimming your lights, finding the right switch is key. Not all types of switches work with every light or electrical setup. Knowing about various dimmer switch options and their specific needs helps you choose wisely.
Understanding Dimmer Switch Types and Compatibility
The kind of dimmer switch for led lights you need depends on your bulbs. Regular dimmers are fine for old-style bulbs like incandescent and halogen. But, for LED or CFL bulbs, you’ll need special switches. And if you have a 3-way setup, make sure to get a 3 way dimmer switch.
Always check what the dimmer switch’s maker suggests. Make sure it works with your home’s wires and power.
Also Read – Brighten Your Home with LED Fairy Lights!
Matching Dimmer Switch to Light Bulb Types
It’s very important to pair the switch to light bulb types for a smooth and safe experience. Wrong matches may cause flickering or even harm your lights or the dimmer. It’s wise to thoroughly check your bulb and switch’s info to make certain they fit before buying.
Learning about the different types of dimmer witches and how they match with lights is important. It lets you pick the best for your home.
Preparing the Electrical Box
First, you have to get the electrical box ready for the new dimmer switch.
Two main steps are involved.
You need to check the box’s size and make sure it has enough space.
Also, you have to take out the old switch and figure out the wires before you start.
Checking Box Size and Clearance Requirements
Begin by making sure the electrical box is big enough.
It must meet the safety rules of the National Electrical Code. The electrical box size is very important. It must fit the dimmer switch and wires properly to avoid issues like overheating. By following the electrical box clearance rules, you keep your home safe from electrical problems.
Removing Old Switch and Identifying Wires
After that, take out the old switch and look at the wires carefully. First, turn off the circuit’s power.
Then, disconnect the old switch. Note the colors and where the wires go. Doing this right, by removing the old switch and identifying the wires, makes putting in the new dimmer switch easier.
How to Wire a Dimmer Switch

First, have the electrical box ready. Now, you can start wiring the dimmer switch. Begin by attaching the ground wire for safety. This step keeps you safe from electric shocks and other dangers.
Connecting the Ground Wire for Safety
Find the ground wire, often green or bare copper. Connect it firmly to the dimmer switch’s ground terminal. This ensures any extra electrical current goes safely to the ground, protecting you and your home.
Wiring the Line (Hot) and Neutral Connections
Now, connect the line (hot) and neutral connections. The line (hot) wire, which is usually black or red, brings power to the dimmer switch. The neutral wire, which is white, closes the loop. Attach these to the correct spots on the switch for a stable link.
Securing Wires and Mounting the Dimmer Switch
After wiring the ground, line, and neutral, organize the wires inside the box. Carefully push the wires in, making sure not to crimp or cut them. Lastly, secure the dimmer switch in the box as the maker suggests, ensuring a good fit.
Testing and Troubleshooting the Dimmer Switch
After setting up the dimmer switch, it’s test time. Turn the power on and adjust the switch. Check if the lights dim as they should. If they don’t, our tips will help you fix it.
Start by making sure the switch matches your light bulbs. Different switches are best for different lights, like incandescent or LED. Using the wrong switch can cause problems.
Then, look at the wiring closely. Make sure everything is tightly connected. This includes the ground wire and identifying the hot and neutral wires. Bad connections can mess up the dimmer’s function.
If it’s still not working, test the switch with a voltage tester. No power means there might be a bigger electrical issue. You might need an electrician to check and fix it.
Follow these steps to troubleshoot your dimmer switch. With a bit of effort, you’ll have your dimmer switch working right.
Selecting the Ideal Dimmer Switch Location

Choosing where to install a dimmer switch affects how well it works and the experience for users. You should think about making it easy for people to reach and use it. Also, look out for things that might mess with the switch, like other electronics.
Considering Accessibility and Convenience
It’s key to place the dimmer switch where everyone can easily get to it. A good idea is to put it by the door, near where people sit, or in the middle of the room. Make sure it’s at a height that’s easy for most people to reach.
Avoiding Potential Interference Sources
If you want your dimmer switch to work well, don’t put it next to electronics like TVs or routers. They might make the dimmer act funny. Also, steer clear of metal surfaces, as they can mess up the dimmer’s signals.
Picking the right location for your dimmer involves thinking about ease of use and staying away from certain objects. This way, your dimmer will smoothly control the lights in your home.
Understanding Dimmer Switch Ratings

When you pick a dimmer switch for your home, you must look at its ratings. These ratings match the switch’s ability with your home’s electrical setup. They show the most load the switch can support without causing trouble.
Matching Dimmer Switch Rating to Circuit Amperage
Start by syncing the dimmer’s rating with the circuit’s amperage. Dimmers are rated in watts, which tells us their limit. Make sure the wattage of your switch matches the circuit’s amperage. This avoids overloads and safety risks.
Accounting for Total Electrical Load
It’s also important to factor in all the electrical use on the circuit. Add up the wattage of light bulbs and other devices on that line. This understanding helps you choose the correct switch based on dimmer switch ratings, circuit amperage, and electrical load. It ensures safety and efficiency.
Advanced Dimmer Switch Wiring Scenarios
Setting up a switch is easy, but you might face more complex tasks. If you need to control a light from two places, a 3-way dimmer switch is crucial.
Or, you might connect several dimmer switches to one circuit. These methods need more effort to make sure everything works right.
Wiring a 3-Way Dimmer Switch
A 3-way dimmer allows you to dim a light from two spots, like both sides of a staircase. This needs a special switch and extra wiring. You have to figure out the hot, load, and traveler wires, then connect them right. After doing this, you can dim the light from either spot.
Connecting Dimmer Switches in Parallel
Sometimes, you’ll want more than one dimmer switch for a light.
This is connecting them in parallel. It lets you dim the light from different parts of a room. It’s handy for big spaces or rooms with many doors.
But, make sure the total power used won’t be more than what the switches can handle. This avoids problems and lets the switches work well.
Benefits of Using Dimmer Switches

Dimmer switches do more than just change the brightness of your lights. They bring savings in energy and add to the feel of your home. For these reasons, they’re a great pick for any house or apartment.
Energy Savings and Efficiency
Dimmer switches can cut your energy use. When you don’t need full light, you can turn it down. This saves electricity, lowers your bills, and is good for the planet.
Setting Mood Lighting and Ambiance
With dimmer switches, you control how a room “feels”. You can adjust the light to match any mood or event. They’re perfect for making a dinner romantic or for just making any space feel cozier.
Maintaining and Troubleshooting Dimmer Switches

To keep your switch working well, do regular checks and fix issues that come up. Learn about problems and how to clean and care for your switch. This will make it last longer and keep your lights working right.
Common Issues and Troubleshooting Tips
If your dimmer switch has issues like lights flickering or not turning on, here’s what to do.
First, make sure power is reaching the switch by checking the circuit breaker and connections. If that’s not the problem, look at the switch for damage. If it’s old or broken, you might need to get a new one.
Another issue might be the dimmer not adjusting the lights correctly. This could happen if the dimmer and the light bulbs aren’t compatible. Check that the dimmer can work with your bulbs. If not, swap to LED bulbs which usually work better with dimmers nowadays.
Cleaning and Extending Dimmer Switch Lifespan
Regular cleaning also helps keep your dimmer switch working longer.
Dust and dirt can build up and mess with the dimmer. Always turn the power off before starting. Then, gently use a dry cloth to clean. Avoid using too much water or force.
Follow the maker’s advice on cleaning and other care. This might mean putting grease on the moving parts or changing the switch every few years. Doing this keeps your switch in good shape. It will give you the light you need for a long time.
Smart Dimmer Switch Integration
Technology is always moving forward. Now, you can make your dimmer switches smart.
Smart dimmer switches work with your home’s voice assistants or a phone app. This makes controlling your lights easier and more flexible. You can even customize how your lights work without much effort.
With a smart switch, adjusting your lights is a breeze. You can change the brightness from the comfort of your sofa or when you’re not even at home. These smart switches easily connect to your Wi-Fi, making remote control simple. Plus, you can use Amazon Alexa or Google Assistant to change your lights, which adds a whole new level of convenience.
But these switches do more than dim the lights.
Smart dimmer switch models come with special features. You can set specific lighting settings for different times, like for a party or a cozy evening.
You can also keep an eye on how much energy your lights use. This helps you save money on your energy bill. Adding smart tech to your lights really transforms your home’s lighting experience.
FAQ
What are the essential safety precautions to take when wiring a dimmer switch?
How do I choose the right dimmer switch for my lighting setup?
How do I properly prepare the electrical box before installing a dimmer switch?
What are the steps to wire a dimmer switch correctly?
How do I troubleshoot issues with my newly installed dimmer switch?
What factors should I consider when selecting the ideal location for my dimmer switch?
How do I ensure my dimmer switch is properly rated for my electrical system?
What are some advanced wiring scenarios I might encounter with dimmer switches?
What are the benefits of using a dimmer switch in my home?
How do I maintain and troubleshoot my dimmer switch to ensure it continues to function properly?
How can I integrate my dimmer switch with smart home systems and voice assistants?
Check out our FREE Calculators on our Resources Page


