Affiliate Disclosure: This post may contain affiliate links. If you make a purchase, we may earn a small commission at no extra cost to you.
Imagine you’re ready for a cozy movie night, popcorn in hand. But when you flip the light switch, nothing happens. This can be really frustrating.
A malfunctioning light switch can be a frustrating issue, but the good news is that learning how to fix a light switch is often a simple task that requires minimal tools and experience.
Fixing a light switch might seem like a job for pros. But it’s actually a common DIY task. With the right tools and a bit of knowledge, you can do it yourself.
Whether your switch is flickering, unresponsive, or making unusual sounds, this step-by-step guide will help you safely diagnose and repair the problem. Follow these instructions, and you’ll have your light switch working again in no time.

Let us help you find great lighting choices that fit your needs and style
Understanding Light Switches
Before diving into repairs, it’s important to understand the basic types of light switches:
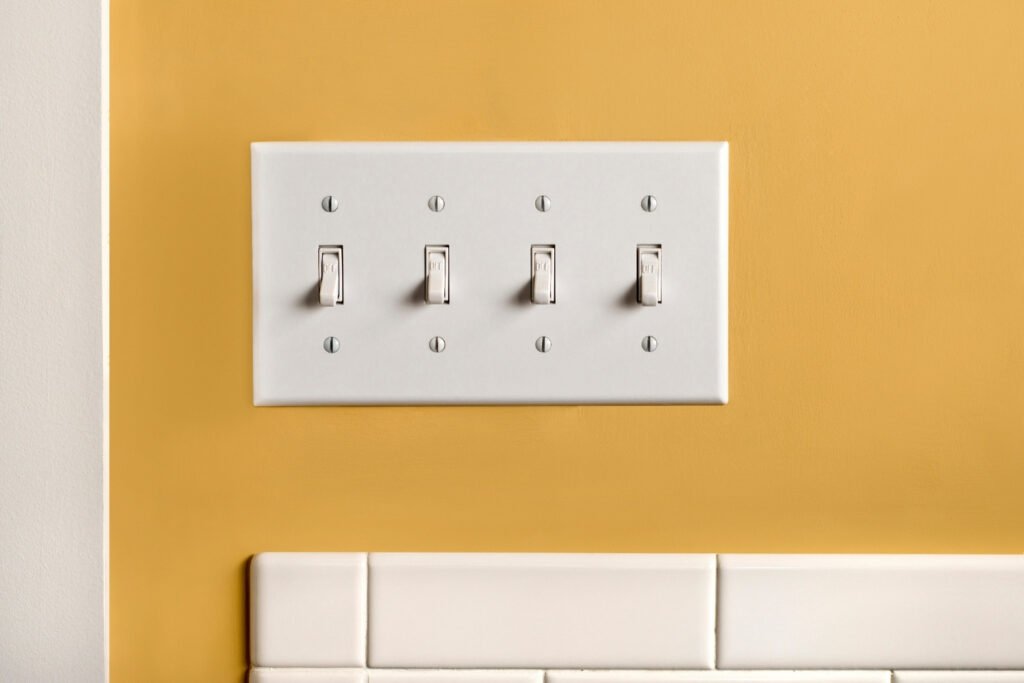
Single-pole switch: Controls a light from one location.
Three-way switch: Allows control of a light from two locations.
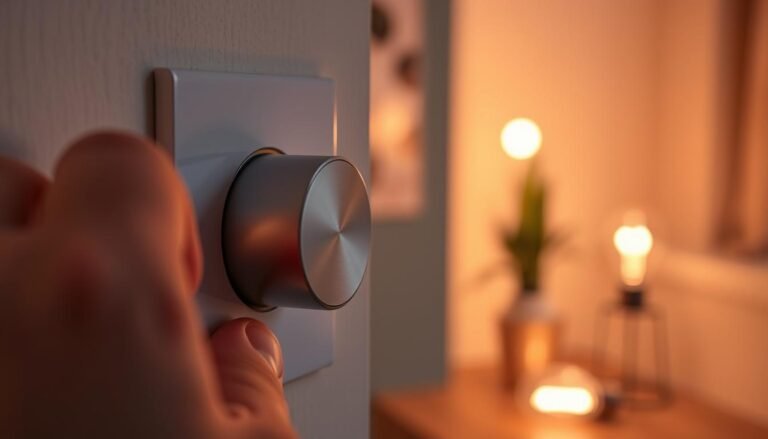
Dimmer switch: Adjusts brightness instead of simply turning a light on or off.
Most common issues occur with single-pole switches, but similar principles apply to other types.
Safety First: Preparing for the Repair
Since you’ll be dealing with electrical components, safety is crucial. Follow these steps to protect yourself:
Turn off the power: Locate your home’s circuit breaker panel and turn off the breaker controlling the light switch.
Test for power: Use a voltage tester or a non-contact voltage detector to ensure no electricity is flowing to the switch.
Gather your tools:
Screwdrivers (flathead and Phillips)
Voltage tester
Wire stripper/cutter
Needle-nose pliers
Electrical tape
Replacement switch (if needed)
Diagnosing the Issue
Before replacing the switch, it’s important to identify the problem. Here are some common symptoms and their causes:
Light doesn’t turn on or off: The switch may be faulty, or the wiring may be loose.
Flickering light: Could indicate a loose wire connection or a failing switch.
Sparking switch: A small spark is normal, but large sparks or burning smells suggest internal damage.
Buzzing or humming noise: Often due to a worn-out switch or an incompatible dimmer.
Step-by-Step Guide on How to Fix a Light Switch
1. Remove the Switch Cover
Using a screwdriver, remove the screws securing the switch plate. Set the cover aside.
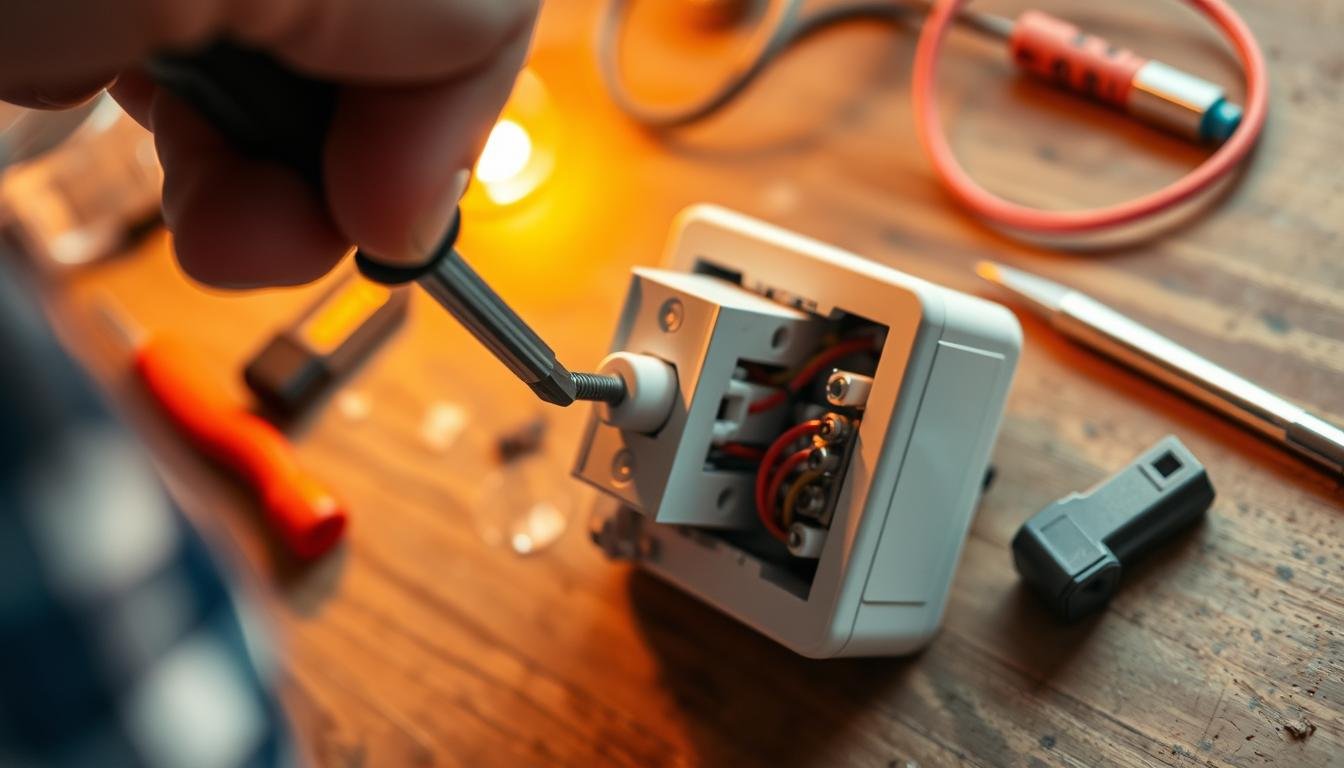
2. Inspect the Wiring
Loosen the mounting screws and gently pull the switch out of the electrical box. Examine the wiring:
Look for loose or disconnected wires.
Check for burn marks or discoloration.
Ensure wires are securely fastened to terminals.
3. Test the Switch
Use a voltage tester to check for live wires. If electricity is still present, double-check the breaker panel.
4. Replace or Tighten the Wires
If a wire is loose, tighten it under the terminal screw.
If a wire appears damaged, cut off the damaged section and strip about ½ inch of insulation before reconnecting it.
If using push-in connections, consider switching to screw terminals for a more secure fit.
5. Replace the Switch (If Necessary)
If the switch is damaged or still not functioning after tightening connections, replace it:
Disconnect the wires from the faulty switch.
Connect the wires to the new switch, ensuring they match the original setup.
Secure the switch back into the electrical box with mounting screws.
6. Reassemble and Test
Attach the switch cover back onto the wall.
Turn the power back on at the breaker panel.
Test the switch to ensure it works properly.
Troubleshooting Common Issues
If your switch still isn’t working, consider these troubleshooting tips:
Check the light bulb: A burned-out bulb might be the real issue.
Inspect the circuit breaker: A tripped breaker could be preventing power from reaching the switch.
Examine nearby switches: If a three-way switch isn’t working, both switches may need to be checked.
Verify connections: Loose wires inside the box can affect function.
When to Call an Electrician
While most light switch repairs are simple, some situations require professional help:
If the wiring appears burnt or melted.
If you’re unsure about handling electrical components.
If the problem persists despite replacing the switch.
If multiple switches or lights are malfunctioning simultaneously.
Let us help you find great lighting choices that fit your needs and style
Conclusion
Fixing a light switch is a straightforward DIY task that can save you time and money. By following these steps, you can safely troubleshoot, repair, or replace a faulty switch.
Always prioritize safety and don’t hesitate to seek professional assistance if needed. With just a few basic tools and a bit of patience, your light switch will be back in working order in no time!
Source Links
- How to Repair a Light Switch (No Electrician Required) – https://www.houselogic.com/organize-maintain/diy-repair/how-to-repair-light-switch/
- A Beginner’s Guide to Basic Electrical Repairs – Electricall – https://electricall.co/a-beginners-guide-to-basic-electrical-repairs/
- How to Replace a Light Switch – https://www.dummies.com/article/home-auto-hobbies/home-improvement-appliances/electrical/how-to-replace-a-light-switch-185346/
- How to Replace a Light Switch – https://www.thespruce.com/how-to-replace-a-light-switch-1824670