Affiliate Disclosure: This post may contain affiliate links. If you make a purchase, we may earn a small commission at no extra cost to you.

Have you stared at an old light fixture and wished for change?
You’re not alone. Replacing a light is easier than it seems. It’s a great DIY project. This guide will show you how to install a light fixture easily, making your home brighter and more beautiful.
Key Takeaways
- Prioritize safety by turning off power to the area before starting the installation.
- Gather the necessary tools and materials, such as a stepladder, voltage tester, and wire stripper.
- Carefully disconnect the old light fixture and prepare the installation site.
- Connect the wires of the new fixture to the corresponding wires in the electrical box.
- Secure the new fixture in place and restore power to test the installation.

Let us help you find great lighting choices that fit your needs and style
Before digging in, you might wonder: Can you be a DIY lighting pro? Yes, you can. With good advice and some bravery, you can change your home’s look. A new light can make any room more stylish and useful.
Check out our FREE Calculators on our Resources Page
Preparation for Light Fixture Installation
Starting the light installation means focusing on safety first.
Begin by switching off the power to the area for the light fixture. Find the circuit breaker and turn it to “OFF”.
Also Read – Elegant Fandeliers for Stylish Home Lighting
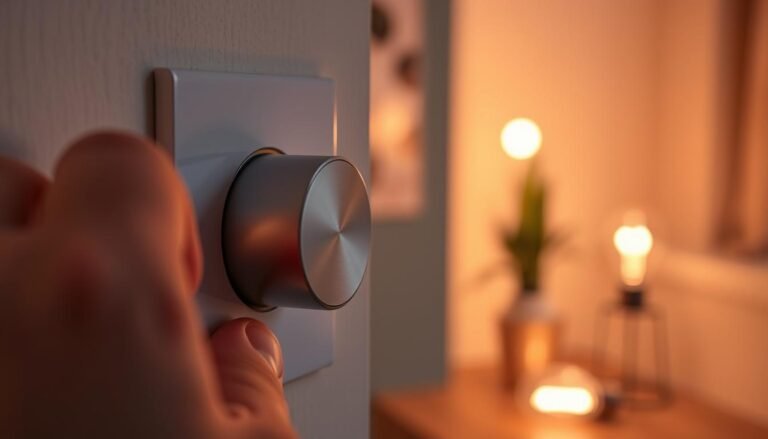
Safety First: Turning Off Power Supply
It’s vital to cut the power for safety when working on lights. Make sure the circuit breaker is off. This guards against electric accidents when installing the new ceiling light or replacing the old light fixture.
Gathering Essential Tools and Materials
Now that the power is off, get all the tools and materials needed. This includes a ladder, voltage tester, tape, pliers, electrical cable, and a light fixture. Having these ready helps with the fixture assembly and home lighting upgrade.
Assessing the Installation Area
Before you start replacing lights, check the installation spot thoroughly. Look for anything that could be dangerous, like hidden wires or blockages. Also, figure out where the new light should go. This makes the wall sconce mounting or ceiling light replacement go smoother.
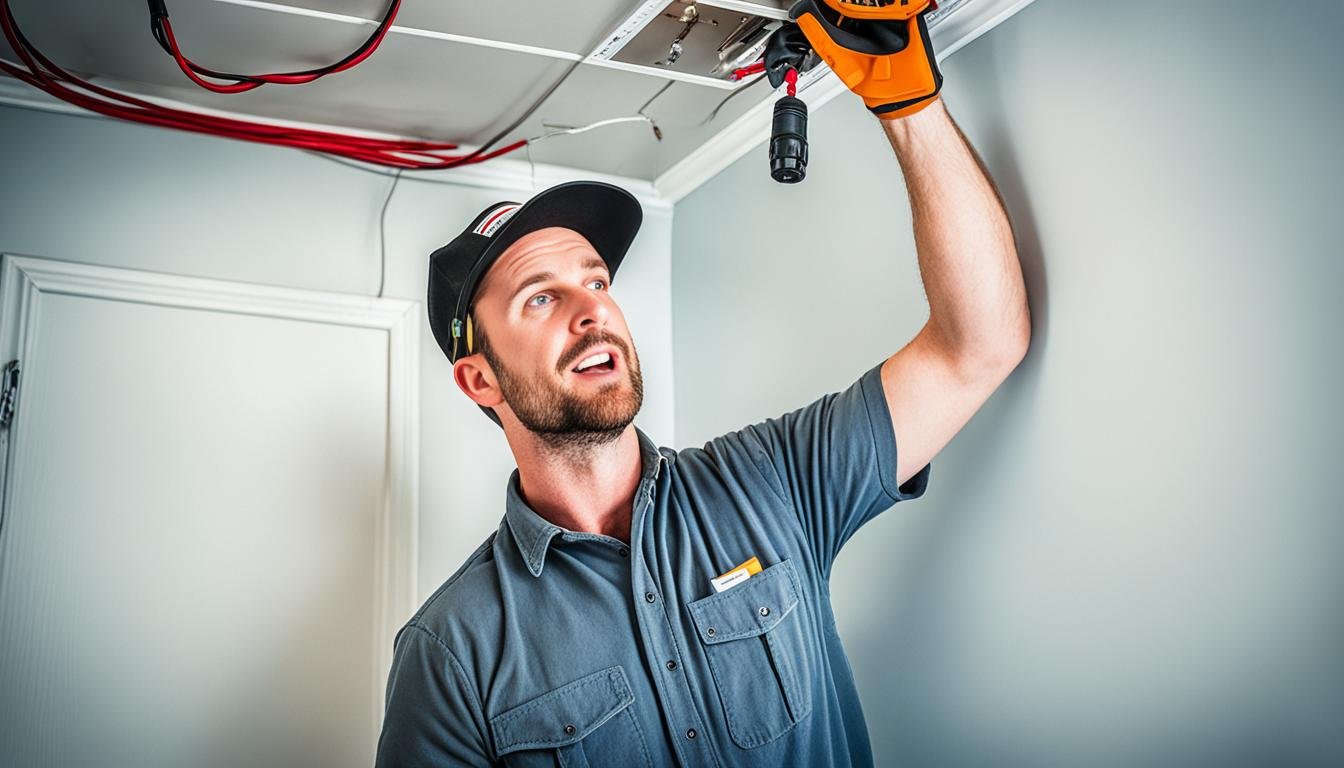
Removing the Old Light Fixture

To start setting up the new light, you should first cut the power and then remove the old one. Undoing the old fixture means unscrewing the canopy and then pulling the wires out. Remember, turn the wires to the left to take them off. Once free, carefully take out the old light from where it hangs.
Disconnecting Wires and Detaching Fixture
Use a screwdriver to take the canopy off. The canopy is what holds the light to the ceiling or box. When you do this, you’ll see the wires. Now, you gently pull and turn the wires apart. Remember how they are connected for when you put the new light up. With the old one free, you can take it down safely.
Preparing the Installation Site
After you remove the old light, make sure the area where the new one goes is clean. Use a wet cloth to clear any dust. Also, check for anything sticking out like screws or nails that could get in the way. It’s important to have a smooth and clear spot for installing the new light.
How to Install a Light Fixture
After removing the old fixture, start the installation process by matching the new light fixture‘s wires with those in the electrical box. Twist them together and use wire nuts to secure the connection. You might have to cut a hole in the wall or ceiling to fit a new junction box first.
Connecting Wires and Securing Fixture
First, connect the new light fixture‘s wires to the box’s wires. Twist the wires together and use wire nuts. This makes sure the light is safely wired for use.
Installing Junction Box (if needed)
If there isn’t a junction box already, you’ll need to add one. Cut the hole and fix the box into place. Make sure to measure and install it right, using the manufacturer’s directions. This ensures the wiring is protected correctly before the light fixture goes up.
Mounting the New Light Fixture
Now, you can hang the new light. Place it on the electrical or junction box, keeping it level and steady. This is the final step to safely and sturdily attach your light.
Finishing Touches and Safety Checks

You’re almost done with your light fixture installation. It’s time for the last steps and safety checks. This ensures your hanging light fixtures are safe and work well.
Securing Fixture and Adding Bulbs
After the ceiling light mounting is done, make sure the light is tight. You might need to tighten screws or reposition it for a level hang. Then, put in the light bulbs.
Restoring Power and Testing
Now, turn the power back on by flipping the breaker. Test the light to check if it lights up right. If there’s a problem, fix it to finish your home lighting projects with no issues.
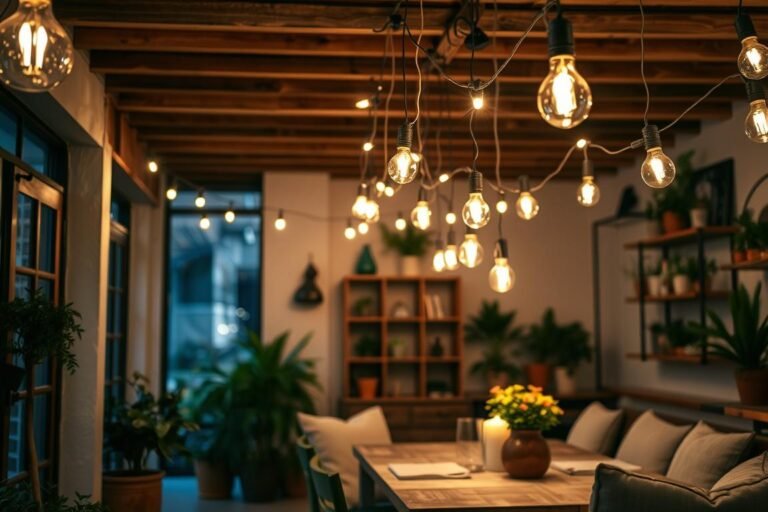
Choosing the Right Light Fixture

When picking a new light fixture, think about a few essential things. How big is the room and how high is the ceiling? What lighting level do you need? Also, what is your room’s style? These questions are key to finding the perfect light.
Factors to Consider for Fixture Selection
First, measure the room for the new light fixture. Knowing the room’s size helps pick the right fixture size. Also, check the ceiling height. This guides whether to choose recessed lighting or a chandelier that hangs down.
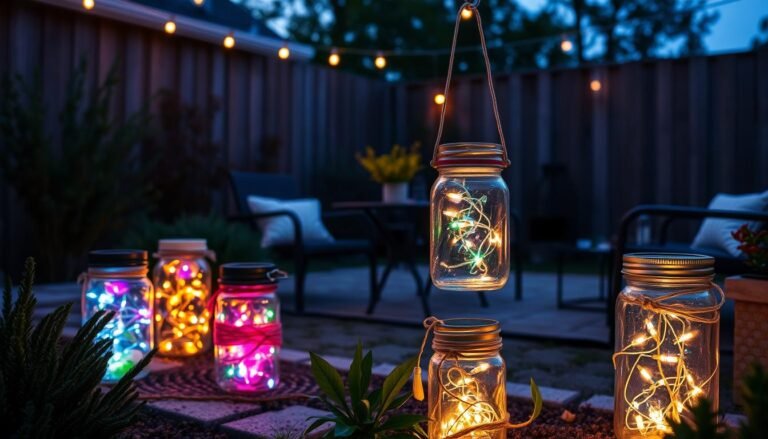
Style, Size, and Bulb Type
After figuring out room space, focus on the look you want. Find a fixture that matches your room’s style, be it modern or classic. And don’t forget about the bulb type and how bright they are. This makes sure your fixture lights the room just right, whether you’re replacing a light or adding a new one.
Conclusion
Setting up a new light in your home can be easy. It’s important to stay safe and get it right. Turn off the power, choose the right tools, and follow our steps carefully.
Choose a light that suits the area and gives off the light you want. Make safety a top priority when installing it. This way, you can improve how your home is lit.
Follow our detailed guide to put up your new light. You’ll see a big difference in your home’s look and feel. Use this guide any time you need to put up a new light.
FAQ
How do I turn off the power supply before installing a new light fixture?
What tools and materials do I need for a light fixture installation?
How do I prepare the installation area before starting the project?
How do I disconnect the wires from the old light fixture?
What steps do I need to follow when connecting the wires of the new light fixture?
How do I properly mount and secure the new light fixture?
What factors should I consider when choosing a new light fixture?
Let us help you find great lighting choices that fit your needs and style
Check out our FREE Calculators on our Resources Page