Affiliate Disclosure: This post may contain affiliate links. If you make a purchase, we may earn a small commission at no extra cost to you.
Walking into a warmly lit room just feels great, doesn’t it? The right lighting makes a huge difference. That’s where LED strip lights come in. They’re not only efficient and customizable but also bring a range of color and effects.
This guide is perfect to sow how to install LED strip lights easily. It’s great for anyone, from DIY fans to newcomers. With this step-by-step guide, you’ll make your living space shine in no time. It’ll reflect your unique style and personality.
Key Takeaways:
- LED strip lights are a cost-effective and energy-efficient lighting solution.
- They come in a flexible strip form with small LED bulbs mounted on a thin circuit board.
- LED strip lights offer various benefits, including versatility, longevity, and customizable lighting effects.
- Before installation, carefully choose the location, gather the necessary tools, and test the strip lights.
- Installing LED strip lights involves measuring, cutting, cleaning the surface, and adhering the strips evenly.
Check out our FREE Calculators on our Resources Page
Understanding LED Strip Lights and Their Advantages
LED strip lights are an energy-saving source of light. They can make your home look more elegant or fun. You can use them to highlight special parts of your house or create party vibes.
What are LED Strip Lights?
LED strip lights are like long, thin ropes that shine. They can be bent to fit everywhere. The light they give off is bright, making your space look great.
Benefits of Using LED Strip Lights in Your Home
There are many reasons why LED strip lights are great for homes:
- Energy Efficiency: LED strip lights use less power. This saves you money and is good for the Earth.
- Versatility: You can use LED strip lights in many ways. They are perfect for lighting up art or setting a soft mood in your room.
- Long Lifespan: LED strip lights last a long time. You won’t have to change them often.
- Color Options: You can choose from many different colors. Some lights can even change colors.
- Easy Installation: Putting up LED strip lights is easy. You can do it yourself. They have a sticky side, so you just need to press them where you want.
With LED strip lights, you can turn your home into a beautiful and smart space.
| Advantages of LED Strip Lights | |
|---|---|
| Energy Efficiency | Reduce electricity bills and environmental impact |
| Versatility | Customize and install to fit specific lighting needs |
| Long Lifespan | Enjoy benefits for years without frequent replacements |
| Color Options | Create stunning lighting effects with a variety of colors |
| Easy Installation | Straightforward DIY installation with adhesive backing |
Pre-Installation Tips for a Flawless LED Strip Light Setup
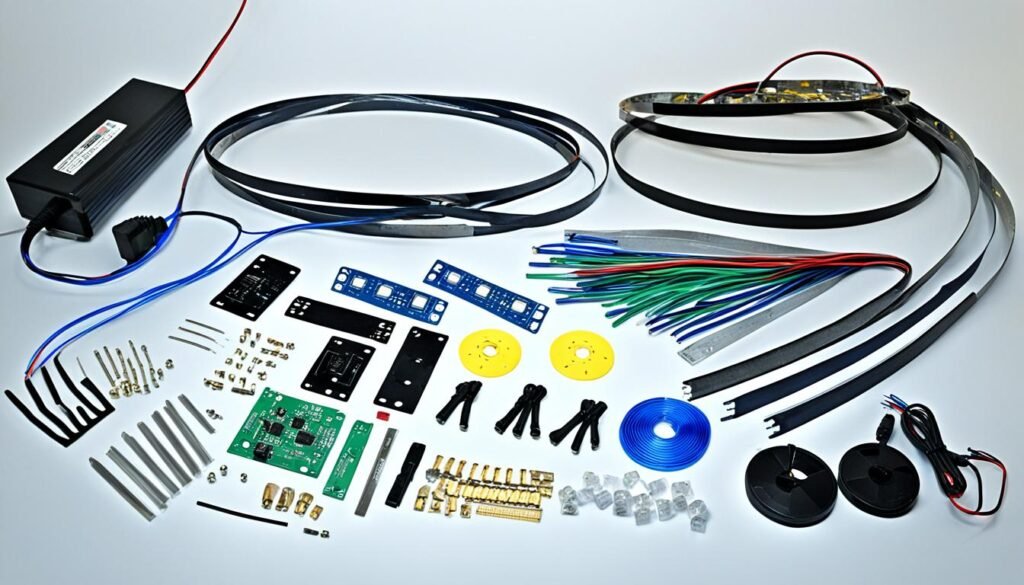
Before you install LED strip lights, think about a few important tips for a perfect setup.
Choosing Your Installation Location Wisely
When you set up LED strip lights, pick the best spot. Think about how you want the lighting to look, if it’s easy to get to, and where to plug it in. This helps decide how many LED strip lights you need and how to install them.
For under cabinet lighting in the kitchen, think about cabinet placement and how bright you want it. Make sure it’s easy to reach for setting up and fixing later.
Gathering the Necessary Tools and Materials
Get all the tools and items you need before starting. You’ll require items like:
- LED strip lights
- Power supply
- Power connectors
- Strip connectors
- Wire cutters
- Double-sided adhesive tape
- Mounting clips or brackets
- Extension cables (if needed)
- Screwdriver
Being prepared saves time and avoids installation problems.
Testing Your LED Strip Lights Before Installation
Test the LED strip lights before putting them up. This checks if they work well before they’re finally in place.
Here’s how you test them:
- Plug the power supply into an outlet.
- Connect the LED lights to the power supply using connectors.
- Turn on the power.
- Check if all the lights work and show the right colors.
If there are issues, check the connections and fix them early. This makes your installation run smoothly.
How to Install LED Strip Lights on Wall and Ceiling Surfaces
First, prepare your LED strip lights. Then, get ready to put them up on your walls or ceiling. Follow these simple steps for the best outcome.
Measuring and Cutting to Perfect Fit
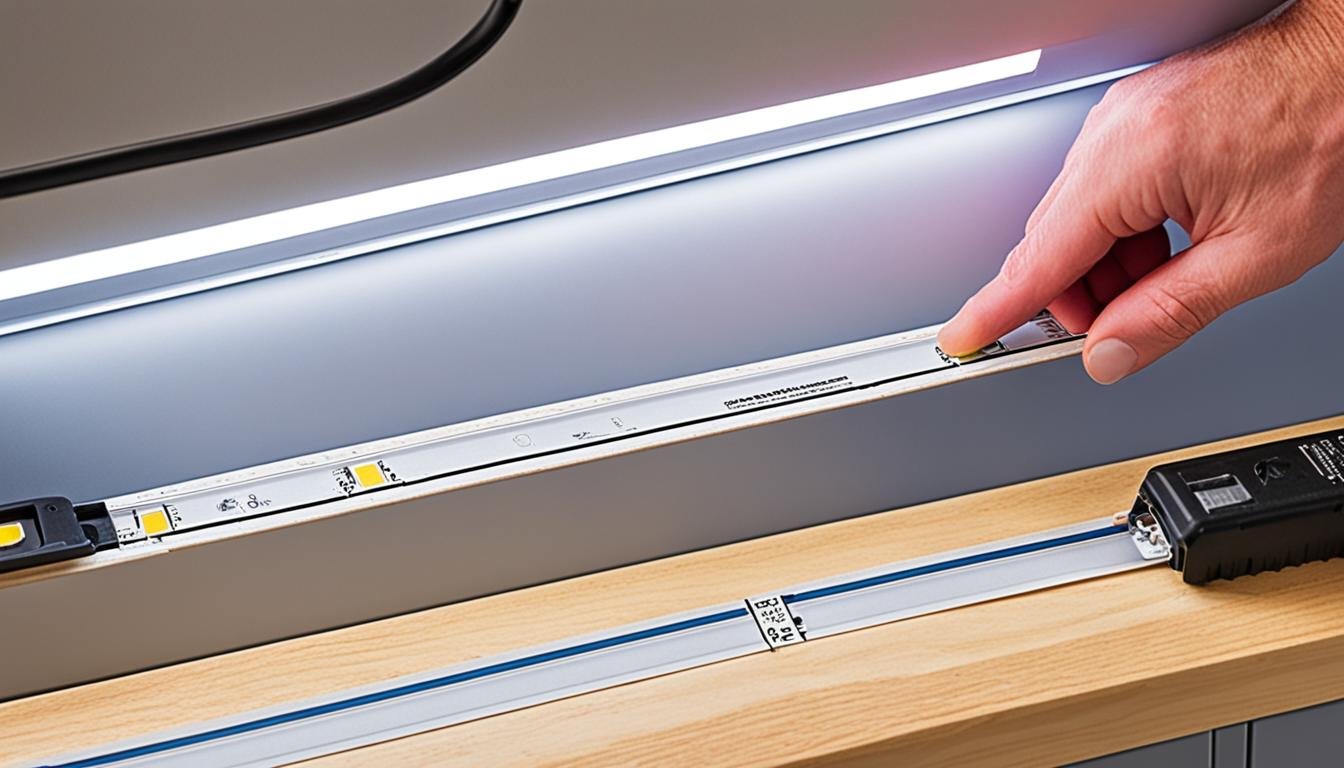
Get out a tape measure and find out how long your LED strip lights need to be. Measure the area where you’re placing the lights very carefully. Cut your lights to fit the space well.
Make sure to cut them where it’s marked safe to do so. This keeps the lights from being too long or short.
Cleaning the Surface for Better Adhesion
Cleaning your surface is key before putting the lights up. Use a gentle cleaner and a soft cloth to wipe away dirt and grease.
After cleaning, let the surface completely dry. This helps the lights stick better.
Adhering LED Strips Evenly
Peel off the protective layer to reveal the adhesive. Then, press the lights onto the wall or ceiling gently.
Start from one end and go to the other. Keep the lights evenly spaced. Smooth them down as you go to avoid bubbles or wrinkles.
Expanding Your Lighting: Connecting Multiple LED Strips

If you’re looking to make your LED lighting bigger, joining several strips is the way to go. You can light up longer areas or big spaces this way. Get a strip connector kit that fits your LED strips to do this.
Joining LED strips helps you get an unbroken line of light. Here’s how:
- Make sure your LED strips and connector kit match. You can pick from different types of connectors, like solderless connectors or clip-on ones, based on your strips.
- Figure out the length needed for the LED strip coverage. This decides how many extra strips you should buy.
- Cut the extra LED strips to the length you need. You can use scissors or a knife. Just be careful to cut at the right spots.
- Peel off the backing from one end of the cut strip, then stick it to a connector.
- On the other hand, attach the matching end of the connector to the end of an existing LED strip.
- Make sure the connections are tight and right so the light stays on smoothly. Safety first!
- Repeat for however many more strips you’re connecting.
Once they’re all connected, turn on your LED lights. Check that you’ve followed the maker’s guidelines for safety and setup. Enjoy your extended light show!
Troubleshooting Common LED Strip Light Issues After Installation
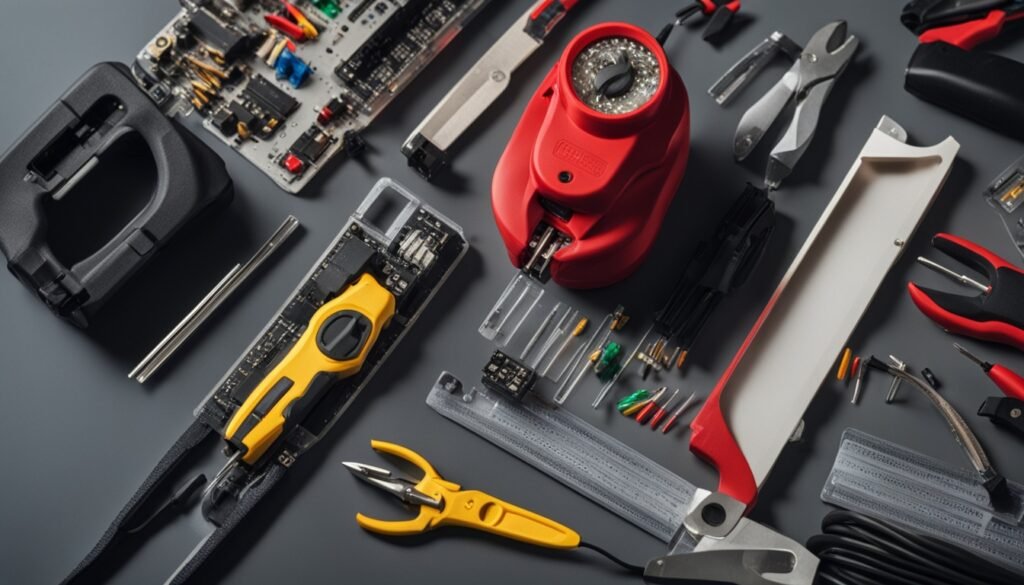
After setting up LED strip lights, you might face problems. Connectivity issues are common, like some parts not lighting or working right. To fix this, look at the connections between strips and connectors. Make sure they fit well and are not loose or damaged. If needed, repair or change them.
Diagnosing Connectivity Problems
If some parts of your LED strips aren’t lighting up, start by checking the connections. Follow these steps:
- Ensure that all connectors are properly inserted into the LED strips and power source.
- Check for any loose or damaged connections.
- Inspect the solder points on the LED strip and make sure they are intact.
- Test the power source to ensure it is functioning correctly.
- If necessary, replace any faulty connectors or LED strips.
By carefully looking at the connections, you can usually fix most issues. This will make your LED lights work well again.
Adjusting Light Intensity and Colors
Light intensity and colors might also give you trouble. Here’s how to handle these problems:
- Check the controller settings to ensure that the brightness levels are properly adjusted.
- If the colors are not displaying correctly, make sure that the RGB color channels are connected correctly.
- Make sure that the power supply is providing sufficient voltage to the LED strip lights.
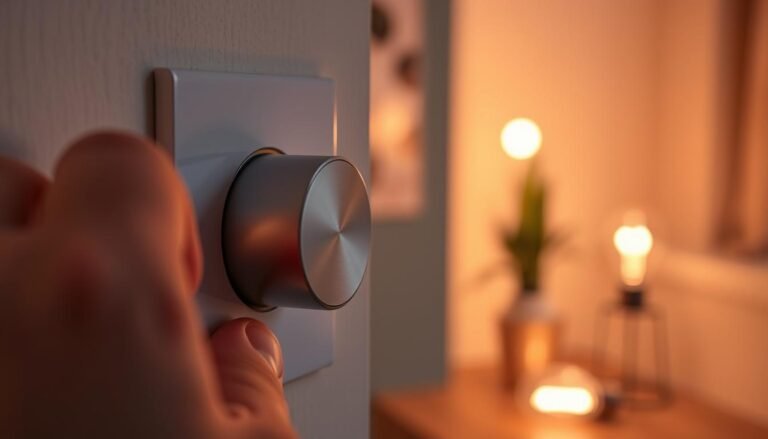
- Consider using a dimmer switch or remote control to fine-tune the light intensity and colors.
- If the issue persists, consult the user manual or contact the manufacturer for further assistance.
Following these tips can help fix LED strip light issues. You can also adjust the lights to get the perfect look for your space.
Conclusion
Putting up LED strip lights can be fun and satisfying. It adds a cool look to your home. Just follow the steps in this guide to get a professional result.
When starting on installing LED strip lights, think carefully. Plan out where you want the lights, the effect you desire, and where to get power. This planning helps pick the right length of lights and how to install them.
Getting the needed tools and materials ready is key before you start. This will make the setup go smoothly. Also, be ready to fix any problems, like lights not working or if colors don’t match.
With careful planning and using the tips in this guide, your lighting setup will be perfect. It will improve the feel of your room. So, start this DIY project and let your creativity with LED lights stand out!
FAQ
What are LED Strip Lights?
What are the benefits of using LED Strip Lights in your home?
How to choose the installation location for LED strip lights?
What tools and materials do I need for LED strip light installation?
How do I connect multiple LED strips together?
What are some common issues with LED strip lights after installation?
Check out our FREE Calculators on our Resources Page
Source Links
- https://www.thespruce.com/how-to-install-led-strip-lights-7377377
- https://www.lightsupplier.co.uk/blogs/lighting/how-to-install-led-strip-lights

