Affiliate Disclosure: This post may contain affiliate links. If you make a purchase, we may earn a small commission at no extra cost to you.
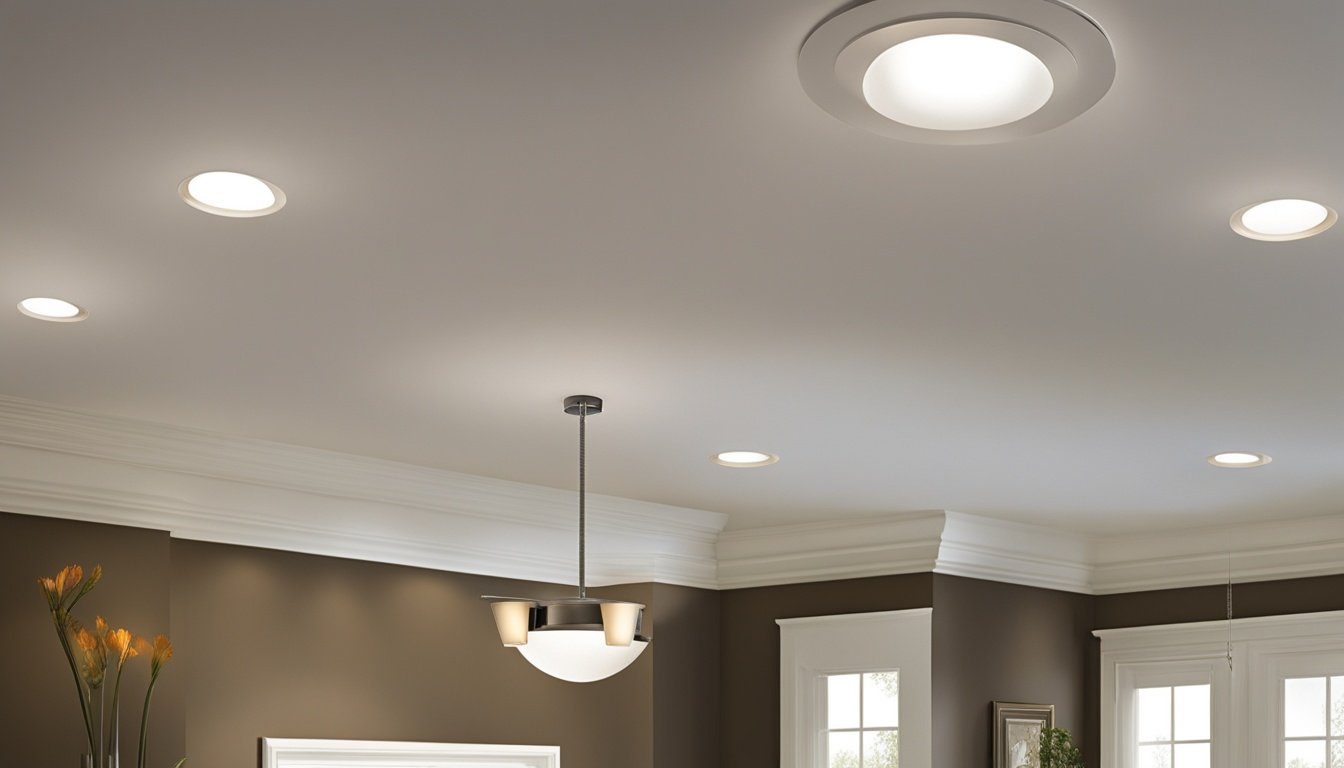
Did you know that recessed lighting is very popular with homeowners now?
Its clean, modern look can really change a room. It’s perfect to light up a space, make it feel cozier, or focus on certain spots. Recessed lighting is a flexible choice for making your home look better.
How to install recessed lighting in your home? This DIY guide is here to help. You’ll learn the steps to install recessed lighting on your own. You’ll start with the basics and move on to planning and doing the installation. With this guide, you’ll feel ready to take on this project.
Key Takeaways:
- Recessed lighting is a popular choice because of its sleek design and varied uses.
- This DIY guide gives you steps to add recessed lighting in your home.
- Knowing the basics, planning well, and having the right tools are key for success.
- Remember the wiring and final details to make your work look pro.
- With this guide, you can save cash and steer clear of common mistakes.
Check out our FREE Calculators on our Resources Page
Understanding the Basics of Recessed Lighting
Recessed lighting is a top choice for many homes today. It gives a sleek look to any room and makes it more beautiful. If you’re thinking of adding this type of lighting, it’s smart to know some basics first. This will help your project go smoothly from start to finish.
There are many types of recessed lights, each with its own special benefits. Halos and trimless lights are two favorites. Halos offer a stylish ring around the light, enhancing the room’s look. Trimless lights, on the other hand, blend smoothly with the ceiling, creating a sleek and clean appearance.
LED technology has changed the game in recessed lighting. LED lights last much longer, save energy, and are very versatile. They are a great choice for both your wallet and the environment.
It’s important to pick the right fixtures for your ceiling, especially if it’s insulated. IC-rated lights can touch insulation directly, which is safer. Non-IC lights need space between them and the insulation to avoid fire risks. Knowing this helps you choose the best lights for your home.
| Types of Recessed Lights | Key Features |
|---|---|
| Halos | Decorative ring around the fixture |
| Trimless | Minimalistic and clean look |
Advantages of LED Lighting
- Longer lifespan
- Energy efficient
- Environmentally friendly
Understanding IC-Rated and Non-IC Rated Fixtures
IC-rated fixtures: Designed for direct contact with insulation, eliminates fire hazards.
Non-IC rated fixtures: Require minimum clearance from insulation for safety.
Pre-Installation Planning: What You Need to Know
Before you start installing recessed lighting, proper planning is key. This step ensures a trouble-free and effective setup. You’ll avoid many problems this way. Here’s some crucial info to get you started:
-
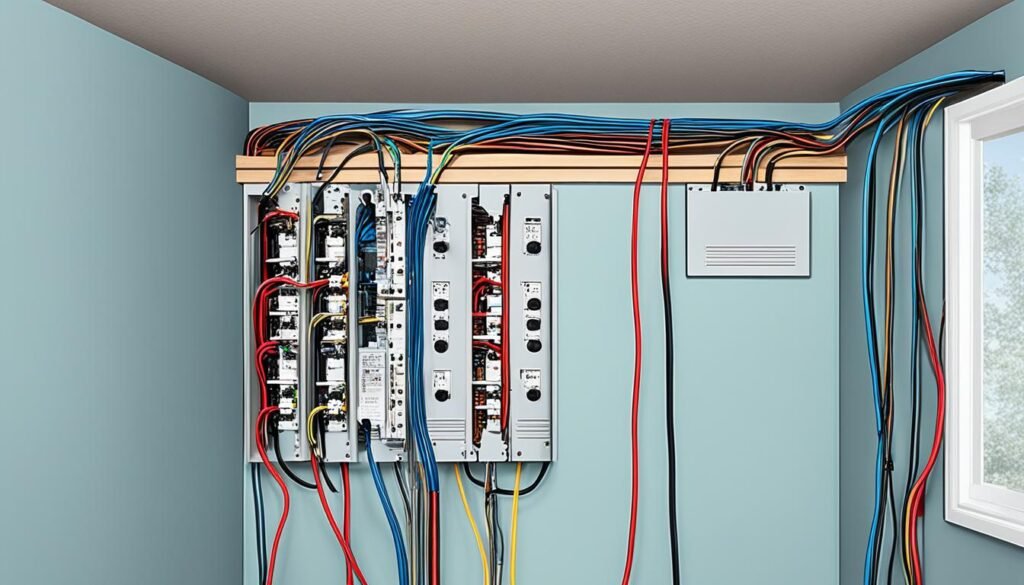
- Assess your electrical wiring: Check your current wiring for support with recessed lights. You need enough power and capacity. If unsure, get a pro to look at and maybe upgrade your wiring.
- Consider the placement of recessed lights: Think hard about where to put your lights. Think about your room’s layout, its use, and the light effect you want. Try to spread the light evenly and avoid shadows. You can get advice from lighting design sources or pros.
- Plan the number of lights needed: Decide how many lights you need to light up your space. Look at the room’s size, how high the ceiling is, and what light level you want. For a common lighting level, space your lights about 4 to 6 feet apart.
Thinking over these points will prepare you well for the installation. Next, we’ll cover the tools and materials you need for the job.
Tools and Materials Required for Recessed Lighting Installation
To install recessed lighting, you need important tools and items. Having these makes the installation safe and successful. Here’s what you’ll need:
Tools
- Hole saw or drywall jab saw
- Stud finder
- Wire ripper
- Wire stripper
- Side-cutting pliers
- Voltage tester
- Breathing protection
Materials
- Recessed lighting fixtures
Before you start, make sure you have all tools and materials ready. This preparation ensures a smooth and efficient installation process. It also prevents any last-minute delays.

| Tools | Materials |
|---|---|
| Hole saw or drywall jab saw | Recessed lighting fixtures |
| Stud finder | |
| Wire ripper | |
| Wire stripper | |
| Side-cutting pliers | |
| Voltage tester | |
| Breathing protection |
How to Install Recessed Lighting in an Existing Ceiling
You’re all set with your plan and tools. Now, it’s time to put up your recessed lights. We’ll show you how to find the joists, mark where the lights go, and cut the right holes for them.
Step 1: Locating Ceiling Joists
Finding the joists is the first step. Joists are crucial for supporting your lights. You can use a stud finder or tap the ceiling lightly to hear the solid spots where joists are.
Step 2: Marking the Positions for the Lights
With the joists found, you can mark where the lights will go. Measure and mark your spots on the ceiling. It’s best to spread the lights out evenly for good illumination.
Step 3: Cutting Holes in the Ceiling
Now, let’s cut the holes. You’ll need a hole saw that fits your lights. First, make a pilot hole with your drills at the center of your marks. Then use the hole saw to cut out the holes.
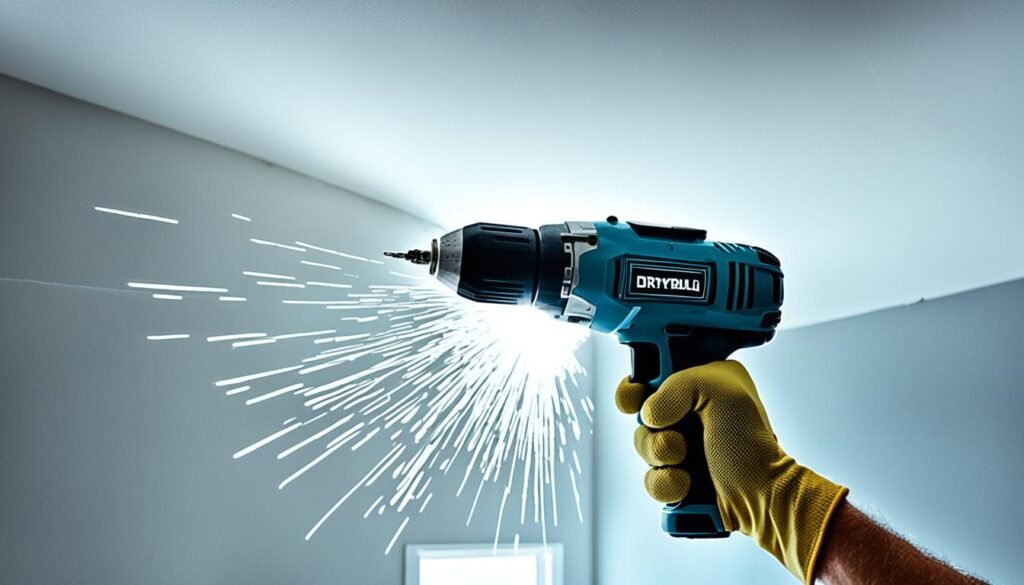
Make sure you’re safe when cutting. Wear goggles and a mask to protect yourself from flying debris. Slow down and aim for clean, neat cuts for a smooth installation.
| Materials Needed: | Tools Needed: |
|---|---|
| – Recessed lighting fixtures | – Hole saw or drywall jab saw |
| – Pencil | – Stud finder |
| – Measuring tape | – Power drill |
| – Protective eyewear | |
| – Mask |
Wiring Your Recessed Lighting: A Step-by-Step Approach
After you’ve planned and prepared to install recessed lighting, the next step is wiring. Here’s a step-by-step guide to make sure your electrical connections are safe and work well with your lights.
Gather Your Tools and Materials
Make sure you have the right tools and materials before you start:
- Wire strippers
- Wire connectors
- Electrical tape
- Screwdriver
- Power drill
- Electrical wire
Make Proper Electrical Connections
Turn off the circuit’s power before you begin. Use a voltage tester to check for electrical current in the wires. It should show no voltage to confirm it’s safe.
Wire your lights to the power as the manufacturer directs. Use wire connectors to make strong connections. Make sure there’s no exposed wire or loose contacts. Ground your fixtures by connecting the grounding wire to the screw provided for this purpose.
Connect Wires Between Fixtures
For multiple recessed lights, connect the wires between them. Run a wire from each light, making sure it’s long enough.
At each light, remove the wire’s outer cover. Then remove the insulation from the wires inside. Connect wires from light to light: black with black (hot), white with white (neutral), and green or bare wire with green or bare wire (ground).
Secure and Test the Connections
Once all the wiring is done, make sure the wires are safely stored in the boxes. Install the lights following the instructions that came with them.
Before securing the lights in place, test the connections. Turn the power back on and use a voltage tester. Confirm the lights are getting power correctly. Turn the power off again once you’ve checked everything.
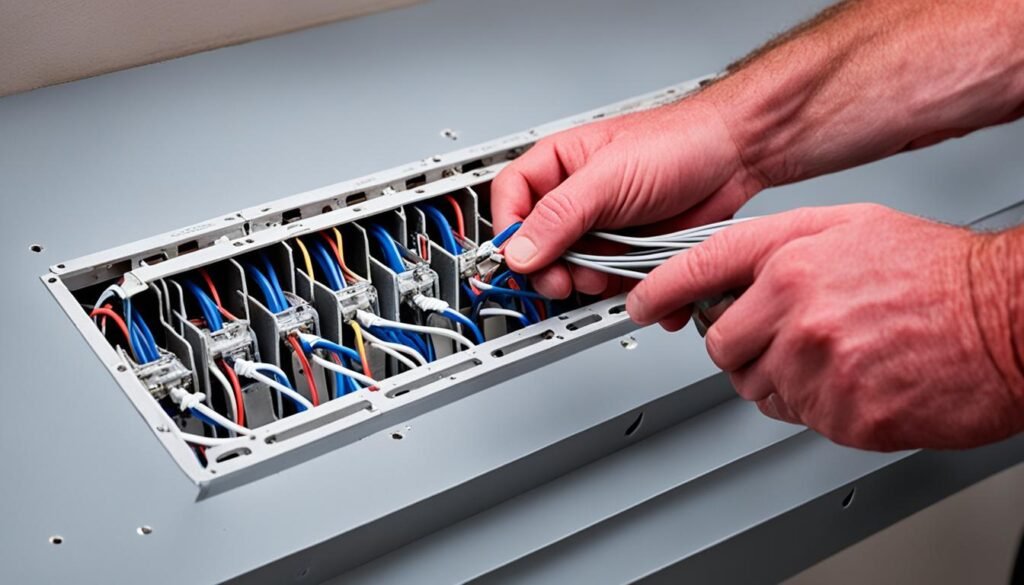
By following these steps carefully, you’ll correctly wire your recessed lighting. This will give you safe and effective lighting for your room.
Mounting Recessed Lighting Fixtures and Adding Finishing Touches
Once your recessed lighting is wired, mounting the fixtures comes next. This step adds the final touches. It involves fixing the housing and placing the trim. Choosing the correct bulb types is also key for the best lighting outcome.
Here’s how to mount the fixtures:
- Make sure to turn off the power before you start.
- Fit the fixture housing into the ceiling cutout.
- Use the clips provided to attach the housing to the ceiling joists.
- Adjust and secure the clips until the housing is steady.
After mounting, it’s time for the trim. The trim finishes off the look, making a smooth connection with the ceiling. Here’s how to add the trim:
- Take the trim out of the package and place it on the housing.
- Line up the trim with the housing and gently push it in.
- Make sure the trim is in the middle and level for a tidy appearance.
Choosing bulb types impacts the feel and use of your space. Many choose LED bulbs for their eco-friendliness and long life. They give off even, strong light. Plus, you can pick from various color temperatures to get the lighting just right for you.
Think about these factors when picking bulbs:
- Color temperature: Pick warm white for a snug vibe or cool white for a fresh feel.
- Light output: Look at lumens to know how bright the bulb is. The right output depends on the room’s size and function.
- Dimmability: If you like, go for bulbs you can dim for lighting control.
The right mix of fixtures, trim, and bulbs makes any room better. It could be a kitchen, living space, or bathroom. The key is to choose thoughtfully.
Cost-Effective Tips for DIY Recessed Lighting Installation
Putting in recessed lighting doesn’t have to cost a lot. With these budget tips, you can make your space look pro without emptying your wallet.
Here’s how to save money if you’re doing it yourself:
- Purchase affordable fixtures: Find cost-effective, quality recessed lights. Many choices are stylish and perform well without the big price tag.
- Compare prices: Shop around to get the best price on lighting. This could cut your costs significantly.
- Consider LED lights: LEDs might cost more upfront but they’re cheaper in the long run. They use less energy and last longer than other types of lighting.
- Reuse existing wiring: If your wiring is still good, use it with your new lights. This can save you from the cost of installing new wires.
- Plan your layout carefully: Planning where to put your lights can save money. Place them wisely to light up your space just right.
- Do your own prep work: By doing some tasks like measuring or cutting holes, you’ll save on hiring help.
- Use cost-effective materials: Pick affordable, quality materials for the job. Look for trusted brands that offer value.
- Consult online resources: Online guides and forums are full of DIY advice. They can help you dodge expensive errors during installation.
If you’re up for a DIY lighting project, just remember your own limits. If certain parts of the job scare you, call in a trained electrician. They’ll keep your home safe and you stress-free.
| Tips | Benefits |
|---|---|
| Affordable fixtures | Save money without compromising quality. |
| Compare prices | Find the best deals and save on overall costs. |
| Consider LED lights | Long-term energy savings and durability. |
| Reuse existing wiring | Avoid the costs of rewiring. |
| Plan layout carefully | Avoid unnecessary expenses. |
| Do your own prep work | Save on labor costs. |
| Use cost-effective materials | Quality without breaking the bank. |
| Consult online resources | Access valuable information and guidance. |
Tips for Avoiding Common Mistakes in Recessed Lighting Installation
Installing recessed lighting right means skipping common mistakes. Knowing these missteps can save you time and frustration. Let’s explore how to dodge these errors and ensure a smooth process.
First off, planning your layout is key. Not thinking through where your lights go is a big error. Measure and place them wisely, factoring in furniture and any blockage. This ensures your lighting looks good without last-minute changes.
Secondly, remember to check if your lights work with insulation. For a ceiling with insulation, use IC-rated lights. These are safe to touch insulation, preventing fire risks. Avoiding this step could mean redoing your work after safety concerns.
Lastly, using the correct tools and materials is vital. Make sure you have quality equipment and safety wear. Also, pick the right fixtures and bulbs for your space. Doing this helps avoid installation problems and ensures your lights work as needed.
Being prepared and informed is the best way to install recessed lighting correctly. With these insights, you can end up with a well-lit, professionally designed area. Enjoying the benefits of proper lighting in your home is just around the corner.
FAQ
How do I install recessed lighting in an existing ceiling?
What tools and materials do I need for recessed lighting installation?
How do I wire recessed lighting?
What are the different types of recessed lights available?
What should I consider when planning the installation of recessed lighting?
Are LED lights better than traditional lighting options for recessed lighting?
What is the difference between IC-rated and non-IC rated fixtures for recessed lighting?
How can I save money on recessed lighting installation?
What are some common mistakes to avoid during recessed lighting installation?
Check out our FREE Calculators on our Resources Page
Source Links
- https://www.thespruce.com/how-to-install-recessed-lighting-5192848
- https://www.lowes.com/n/how-to/install-recessed-lighting

